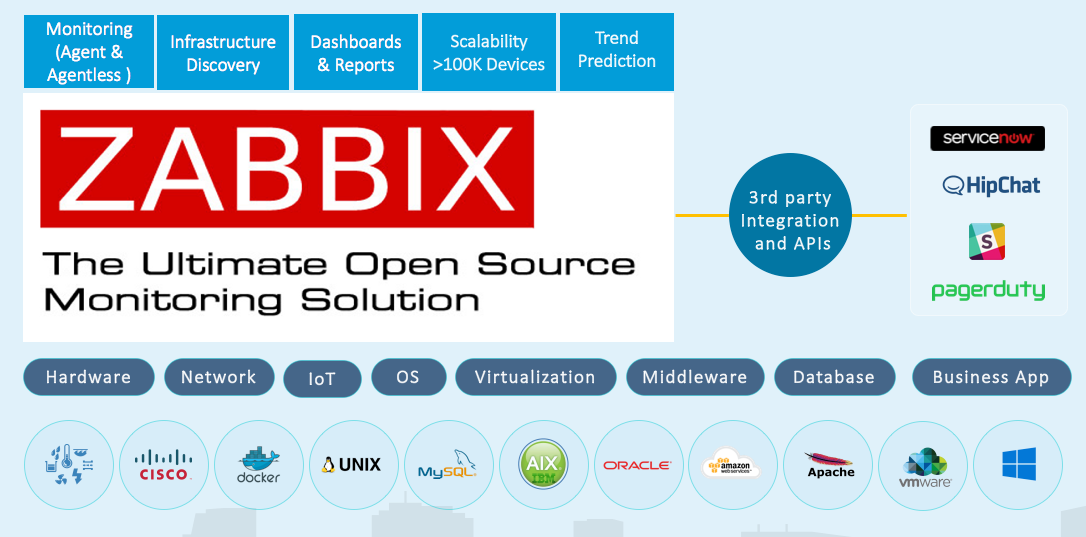
In this article, we will provide a quick overview as well as a simple step by step guide to install Zabbix on RHEL/CentOS. The same steps using different commands can be followed to install Zabbix on another OS. For more information, please visit the Zabbix documentation here
What is Zabbix
Zabbix is an Enterprise-level software designed for monitoring availability and performance of IT infrastructure components that can scale to monitor more than 100,000 devices. Zabbix is open source and comes at no cost. It monitors performance and availability of servers, WEB applications, databases, networking equipment and more in your Data Center. Zabbix is considered one of the top open source infrastructure monitoring tools which we introduced in a previous article.

For more information visit: http://www.zabbix.com/ and check our YouTube video introducing Zabbix
Zabbix Architecture
The main components of Zabbix are:
- Web Frontend: A PHP-enabled web server.
- Zabbix Server: It is the central component to which Zabbix agents and proxies report data on availability and integrity of systems. The server can itself remotely check networked services (such as web servers and mail servers) using simple service checks.
- Zabbix Database: Collected data and configuration information for Zabbix is stored in the database, which both the server and the web frontend interact with.
- Zabbix Agent: The Zabbix agent is deployed on a monitoring target to actively monitor local resources and applications. Zabbix agents can perform passive (Pull) and active checks (Push).
- Zabbix Proxy: A Zabbix proxy can be used in remote and restricted areas to collect performance and availability data on behalf of the Zabbix server.
The Zabbix proxy will not be included in this installation, but will be covered in a dedicated article in the future.
Zabbix Installation step by step
- Install the Zabbix repository
- Install and configure the Zabbix database.
- Install and configure the Zabbix server.
- Install and configure the Zabbix frontend (Web GUI).
Pre-requisite
- Hardware Requirements: Before we start the installation steps, make sure you have all hardware requirements as listed here
- Install Apache and PHP.
yum install httpd -y
yum install php php-mysql php-gd php-pear php-cli php-common php-xml php-mbstring -y
Step 1: Install the Zabbix 3.0 repository
rpm -ivh http://repo.zabbix.com/zabbix/3.0/rhel/7/x86_64/zabbix-release-3.0-1.el7.noarch.rpm
Repositories for RHEL/CentOS 5 and RHEL/CentOS 6 can be accessed from here.
Step 2: Install and configure the Zabbix database
We are going to use mariadb as our Zabbix backend database, but you can use any supported Zabbix database (MySQL,PostgresSQL,Oracle, IBM DB2, SQLite).
Install DB (mariadb)
yum install mariadb-server -y
Start and check the status of mariadb. The chkconfig command is used to ensure mariadb will start after reboot.
chkconfig mariadb on
systemctl start mariadb
systemctl status mariadb
Configure the Zabbix Database
Connect to mariadb as the root and create the zabbix db. Here we are using the default “root” and no password for our database user. In your production environment, make sure to secure the database using the “mysql_secure_installation” command.
mysql
The database name we will create in our example is going to be zabbix: you can create your own name.
create database zabbix character set utf8 collate utf8_bin;
show databases;
Granting privileges to the database user “zabbix”.
grant all privileges on zabbix.* to zabbix@localhost identified by 'zabbix';
quit;
Step 3: Install and configure the Zabbix server
Install the Zabbix Server Package
yum install zabbix-server-mysql
Load the Zabbix database schema and initial data
The Zabbix server version installed from the previous step was “zabbix-server-mysql-3.0.9”. Always check what Zabbix version was installed under/usr/sahre/doc/.
cd /usr/share/doc/zabbix-server-mysql-3.0.9/
zcat ./create.sql.gz | mysql zabbix
Configure DB settings in the in zabbix_server.conf
You only need to change the “DBPassword” and you can keep all default settings if you choose the same zabbix DB and username (DBHost,DBUser,DBName). Otherwise, use the name you used when you created the db. In the “zabbix_server.conf” file, change the “DBPassword=zabbix” and save the file.
.
vi /etc/zabbix/zabbix_server.conf
Start the Zabbix-Server and check its status
systemctl start zabbix-server
systemctl status zabbix-server
ps ax | grep zabbix_server
tail /var/log/zabbix/zabbix_server.log
Step 4: Install and configure the Zabbix frontend (WEB GUI)
Install the Zabbix frontend package
yum install zabbix-web-mysql -y
Modify the PHP time zone
Modify the “php_value date.timezone” in this “zabbix.conf” file to reflect your time zone. In our setup, we will use the php_value date.timezone America/Toronto. A full list of all the PHP time zones can be accessed from here.
vi /etc/httpd/conf.d/zabbix.conf
Start Apache
chkconfig httpd on
systemctl start httpd
systemctl status httpd
Configure the Zabbix UI
Open your browser “http://Your server hostname or IP/zabbix” to access and do the basic setup for the Zabbix UI.

Now the Zabbix Server is ready to use. The default login info is:
Usename: Admin
password: zabbix


